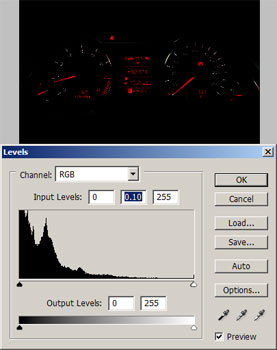
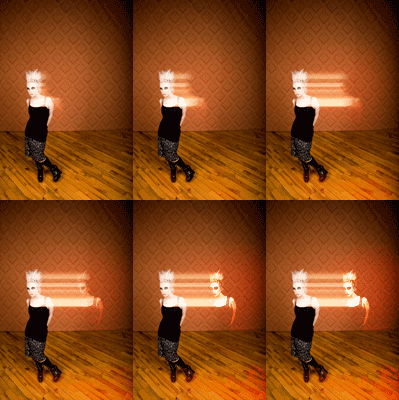
In this section, we'll use the Levels tool to identify the light sources that will be used to create the light streaks. Now that we have the light sources identify, we can use it to create the light streaks. The streaks will be created by duplicating the layer and moving it one pixel at a time. This might send shivers down your spine; don't worry, it'll be easy and fun. Really! To create the animation, we need to create the individual frames as layers. Now that we have the frames created, we're ready to switch to ImageReady to start the animating process. There are countless effects that can be created with this technique. Experiment with different combination to discover new exposure blur animations.  Posted at photoshoptutorials.ws in Photoshop
Create abstract light streaks in motion. This animation simulates the effect of a long exposure photo taken with a moving camera. In this tutorial, you will learn how to create streaks of light from a photo and learn several basic animation techniques to animate the light streaks.Finding the Light Sources


Creating the Light Streaks

Loading the Action

This is a CPU & RAM intensive process so we recommend closing any unnecessary programs before proceeding.
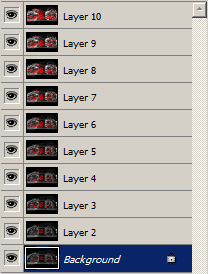
Animating the Light Streaks: Creating the Frames
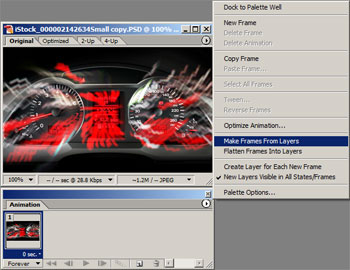
Animating the Light Streaks: Animating with ImageReady
![]()
Format: GIF
Colors: 64
Dither Method: None
Use the "Save Optimize As" tool (File> Save Optimized As) to save the image.Final Results

Sunday, July 29, 2007
Photoshop: Exposure Blur
Posted by
JakF
at
8:33 AM
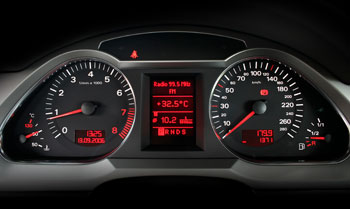
Image from iStockPhoto
Layer duplicated.
Adjusting settings in the Levels tool.
Results without clipped light sources removed.
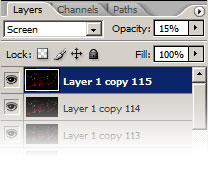
Change the blending mode to Screen.
Blending mode changed to screen.
Use this image as a reference to the opacity that may be most suitable for your image.
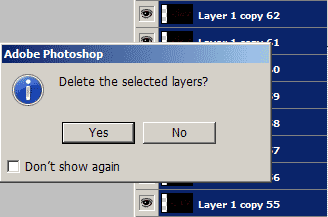
Deleting the layers.
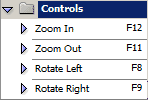
The function key is shown beside the action name.
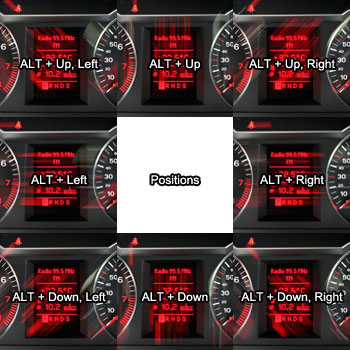
Use these commands to control the direction of the light streaks.
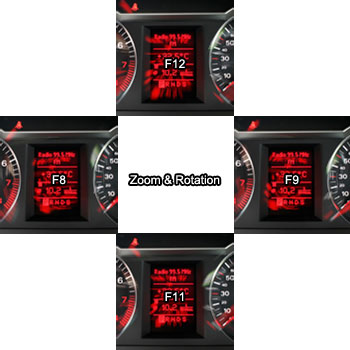
Use these commands to control the zoom and rotation of the light streaks.
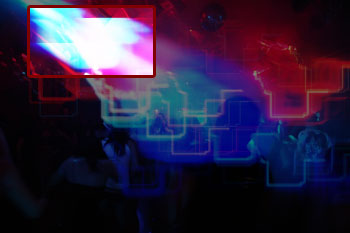
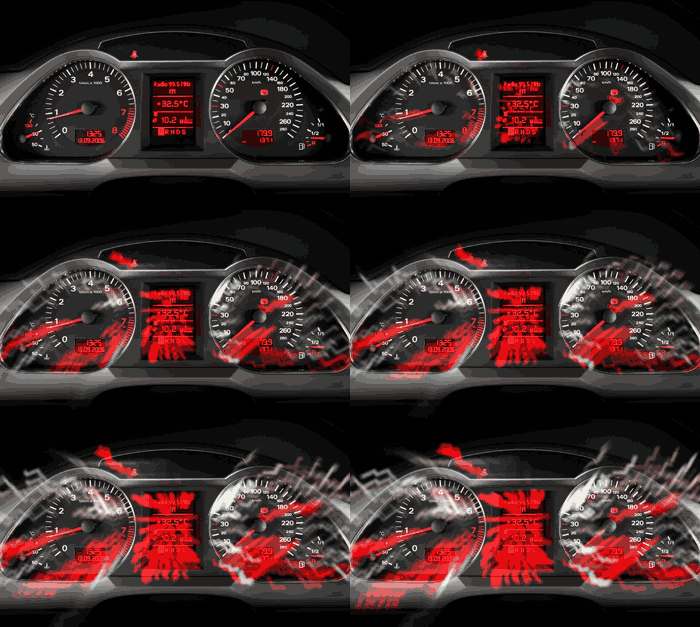
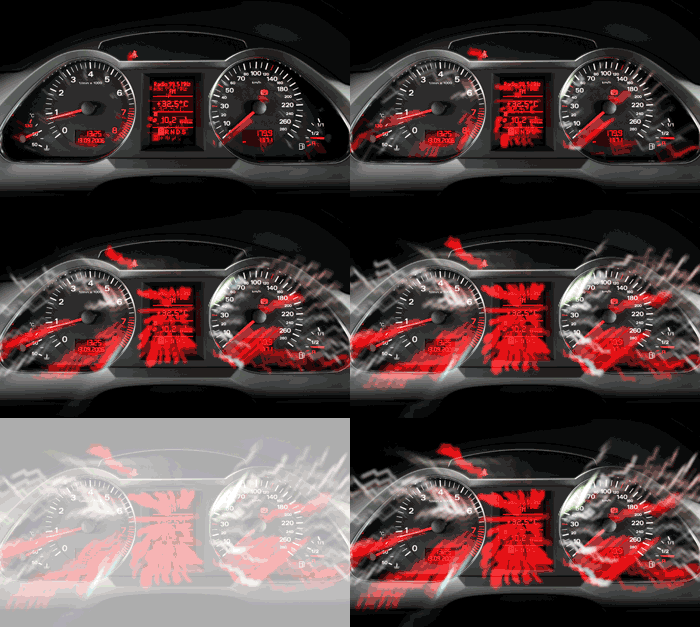
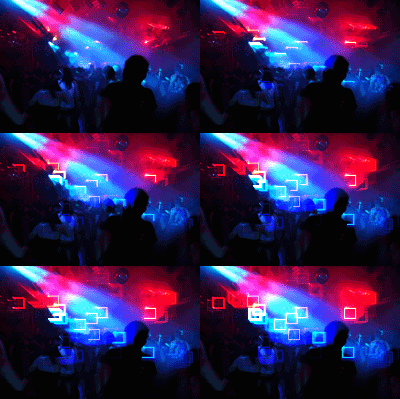
This is an animated sequence of the light streaks I created.
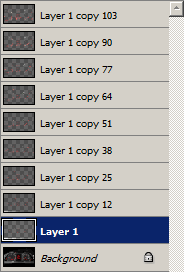
The number of layers can be found in the layer name.
Layers remaining after merging.
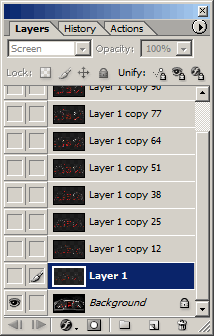
Layers hidden.
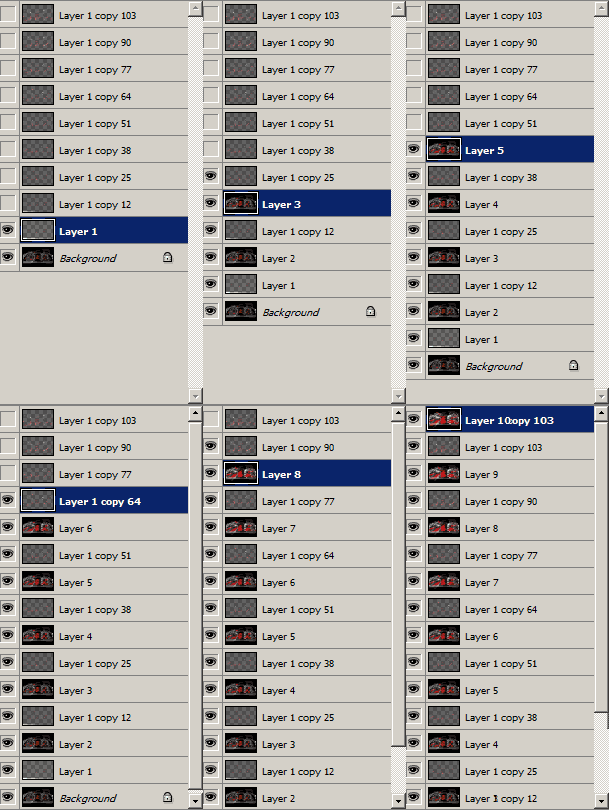
Animation of the process.
Old layers deleted.
You may also press the Photoshop to ImageReady button in the toolbox.
Make Frames From Layers
A simple camera flash effect was added to the end of the animation.
This effect was achieved by simply using the ALT and arrow keys.
This effect was achieved by alternating between the Rotate Right and Zoom In actions.
This effect was achieved by creating a right light streak and duplicating the layer about 20 times at the end.
Labels: Photoshop
Subscribe to:
Post Comments (Atom)
Search
Categories
- 3D Studio Max (127)
- Abstracts (2)
- Adobe Illustrator (62)
- animation (4)
- artwork (5)
- batch (2)
- Beginner (7)
- Brushes (2)
- Color (7)
- colorization (8)
- Download (1)
- draw (12)
- Drawing (1)
- effect (28)
- filter (7)
- Fireworks (1)
- flash (1)
- FreeHand Tutorial (20)
- ImageReady (1)
- Info (2)
- Interface Design (2)
- layers (5)
- logo (5)
- mask (2)
- montage (4)
- morph (1)
- Motorola (2)
- Nokia (1)
- photo (22)
- Photo Retouch (2)
- photomerge (1)
- Photoshop (203)
- Photoshop Brush (3)
- Plugin (8)
- Psd (1)
- Resource (2)
- retouch (12)
- Sony Ericsson (2)
- text (9)
- Text Effect (4)
- texture (3)
- Textures and Patterns (2)
- Tips and Trick (3)
- tool (13)
- Tutor (1)
- vector (4)
- video (1)
- watermark (1)
- web (5)
- Web Graphics (2)

0 comments:
Post a Comment