
Step 1
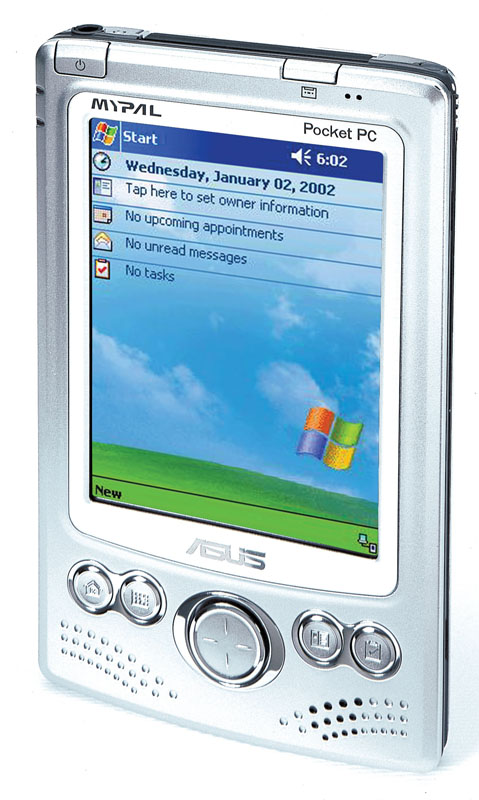
Open our photo of PDA device (you can download it from here). It is called pda.jpg.
Step 2
Open photo that we'll be putting over the PDA screen (download it from here). This image is called kitty.jpg
Step 3
Pick Move tool (V) and drag kitty.jpg onto pda.jpg. Our photo of kitty is now on a layer called "layer1". Rename it to "kitty".
Step 4
Press and hold CTRL on keyboard and left click on layer "kitty". This will select layer "kitty". Press CTRL + C to copy this layer and the CTRL + D to deselect layer. Now make new empty layer and call it "perspective". Click on eye in front of "kitty" layer so it will become hidden.
Step 5
Go to FILTER - VANISHING POINT and click on it. Zoom in on the PDA's screen and pick Create Plane Tool (C). Create a plane that will be over PDA screen.
Try to be as precise as you can. When done you'll get a grid over the screenlike this.
Now press CTRL + V to paste "kitty" layer that we copied earlier. Position this layer in the grid where you want it to be. You'll see that when you drag image in grid it will transform a little bit. If it is to big then you can use Transform tool (T) and size it down. Press OK.
Step 6
Now we have to color screen in white (or any other color you want). Make new layer, call it "white", put it below "perspective" layer, use Polygonal Lasso Tool
and with this tool make selection of the screen. When done fill selection whit white color and with brush make correction on parts where you missed area of screen.
See you!
from: http://www.dphotonews.com
Tuesday, June 26, 2007
Make your own PDA background
Posted by
JakF
at
8:13 AM
Here is the final image.
Labels: Photoshop
Subscribe to:
Post Comments (Atom)
Search
Categories
- 3D Studio Max (127)
- Abstracts (2)
- Adobe Illustrator (62)
- animation (4)
- artwork (5)
- batch (2)
- Beginner (7)
- Brushes (2)
- Color (7)
- colorization (8)
- Download (1)
- draw (12)
- Drawing (1)
- effect (28)
- filter (7)
- Fireworks (1)
- flash (1)
- FreeHand Tutorial (20)
- ImageReady (1)
- Info (2)
- Interface Design (2)
- layers (5)
- logo (5)
- mask (2)
- montage (4)
- morph (1)
- Motorola (2)
- Nokia (1)
- photo (22)
- Photo Retouch (2)
- photomerge (1)
- Photoshop (203)
- Photoshop Brush (3)
- Plugin (8)
- Psd (1)
- Resource (2)
- retouch (12)
- Sony Ericsson (2)
- text (9)
- Text Effect (4)
- texture (3)
- Textures and Patterns (2)
- Tips and Trick (3)
- tool (13)
- Tutor (1)
- vector (4)
- video (1)
- watermark (1)
- web (5)
- Web Graphics (2)

0 comments:
Post a Comment